Wrought Iron Fence Installation: Step-by-Step Process and Timeline to Expect
If you are comparing fence materials for an upgrade, it helps to know what the work actually looks like before you sign a quote. Wrought iron fence installation follows a different process than a wood fence or vinyl fence build, and the timeline runs differently too. Understanding the iron fence installation timeline can help you plan the work and know what to expect from step to step. This guide walks through the job step by step, from the first layout marks to the final gate adjustment, so you know what to expect and what questions to ask a contractor in Chattanooga.
One note up front: most fences sold as "wrought iron" today are ornamental steel or aluminum panels built in the wrought iron style. True hand-forged iron is custom work with a longer lead time. The installation steps below apply to both, but the schedule differs, and we will flag where.
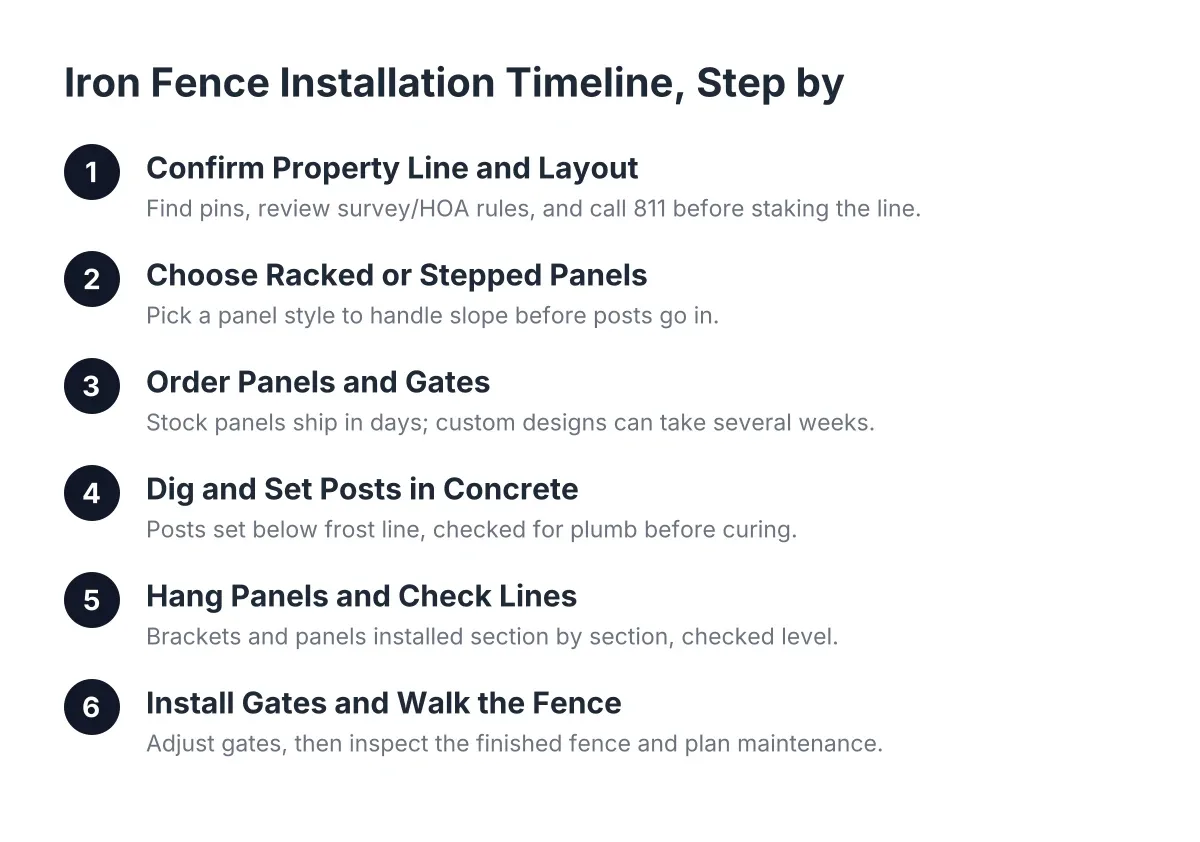
Step 1: Confirm the Property Line and Mark the Layout
Start by confirming exactly where the fence can go. That means finding your property pins, reviewing your plat or survey, and checking any HOA rules about fence height and style. Ornamental metal fencing often passes HOA review more easily than a tall privacy fence, but confirm before anyone digs.
Next, call 811 to have underground utilities marked. This is free, and it is not optional. A metal fence line with posts set every several feet crosses a lot of ground, and gas, water, and cable lines do not care how nice your new fence looks.
Once the lines are marked, the layout gets staked. String lines run between corner stakes so every post lands in a straight run. On a sloped Chattanooga lot, this is also when you decide how the fence will handle grade, which matters more for metal panels than for wood. A good installer will walk the line with you and explain where panels will step, rack, or follow the slope.
Step 2: Choose Between Racked and Stepped Panels for Your Slope
Decide how the fence handles elevation changes before the posts go in, because the panel type locks in the answer. Racked panels pivot at each picket so the fence follows the ground with no gaps underneath. Stepped panels stay rigid and drop in level sections, which leaves triangular gaps on a slope.
Chattanooga lots on the ridges and near the river rarely sit flat. If you have a dog or small kids, racked panels usually make more sense because they close the gap at the bottom. Stepped panels can look sharper on a formal front yard where the grade change is gentle.
This choice also affects ordering. Standard wrought iron fence panels rack only so far, often a limited number of inches over a panel's width. Steeper sections may need special racking panels or custom fabrication, and that adds lead time. Ask your installer to measure the actual grade along the line instead of eyeballing it.
Step 3: Iron Fence Installation Timeline and Ordering
Expect the ordering stage to take longer than the install itself. Here is a realistic sequence for a typical residential job in 2026:
- Estimate and layout visit: one appointment, usually under an hour
- Panel and gate ordering: stock ornamental steel panels may ship in days; custom or decorative wrought iron fence panels can take several weeks
- Post setting day: one day for most residential yards
- Concrete cure time: several days before panels hang, longer in cold or wet weather
- Panel and gate installation: one to two days for a standard yard
So a stock-panel job might run from quote to finished fence in two to three weeks. A custom decorative design with an arched automatic gate could stretch to six weeks or more, and most of that is fabrication, not labor in your yard.
For budgeting context, fence installation nationally averages $23 per linear foot across all materials, ranging from $6 to $50 depending on the material, according to HomeAdvisor. Ornamental metal sits toward the upper end of that range. The cost of wrought iron fence installation depends mostly on linear footage, panel style, gate count, and how much custom fabrication the design needs.
Step 4: Dig and Set the Posts in Concrete
Setting posts is the step that decides whether the fence stays straight for twenty years or leans in five. Each post hole gets dug below the frost line, the post gets set in concrete, and everything gets checked for plumb and spacing before the concrete cures.
Chattanooga's clay-heavy soil makes this step matter more here than in sandier regions. Clay holds water, and freeze-thaw cycles in winter push shallow footings up and out of plumb. A metal fence is less forgiving of post movement than wood; a leaning steel post telegraphs through every rigid panel attached to it. Deep footings with properly sized concrete collars are the fix, and they are worth asking about on any quote you compare.
Post spacing must match the panel width exactly. With a wood fence, an installer can trim boards to fit a slightly off measurement. Metal panels do not trim in the field without cutting and refinishing, so precise spacing at this stage saves headaches later. However, every yard has at least one odd section, a run that ends short against the house or a tree. Experienced installers plan the layout so any cut or shortened section lands in the least visible spot and full panels face the street and the main sightlines.
Step 5: Hang the Panels and Check the Lines
Hanging panels goes fast once the concrete has cured. Brackets attach to the posts, panels bolt or screw into the brackets, and the crew works down the line section by section. Before each panel gets fastened, it gets lifted and checked so the picket tops run level with the section beside it. That small check is what separates a clean, continuous top line from a fence that looks wavy from the sidewalk.
On racked sections, the panel gets angled to match the grade before fastening. On stepped sections, each panel sets level and the height steps at the post. Either way, the string line from Step 1 stays up until the last panel is in.
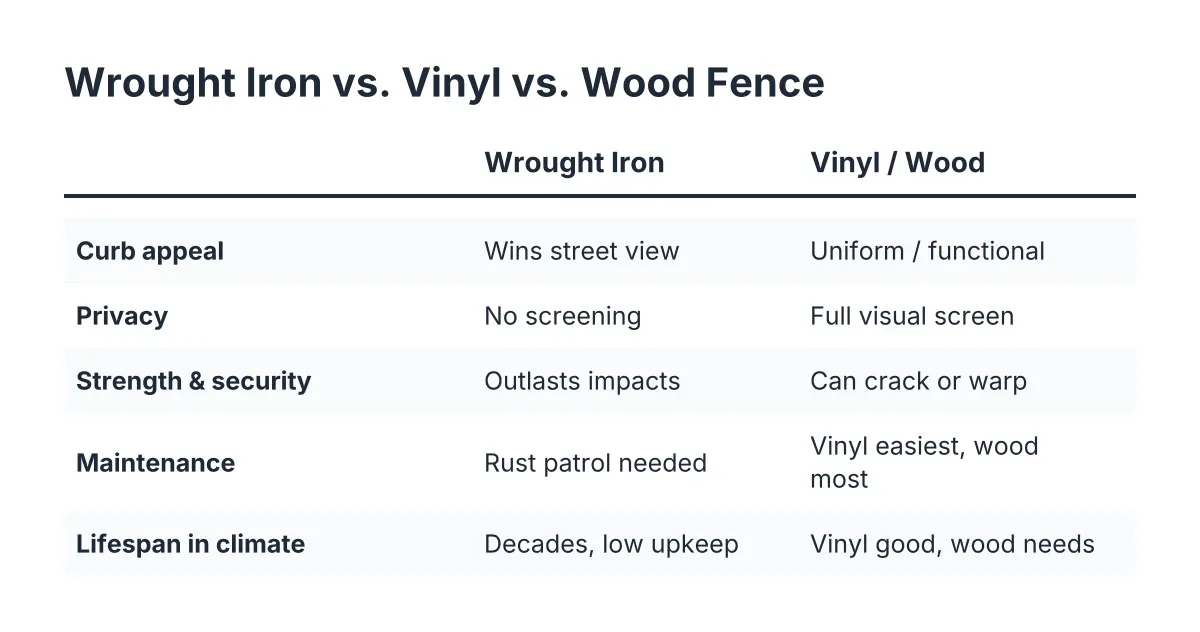
This is also the stage where ornamental metal shows its advantage over wood for impatient homeowners. There is no waiting period after installation. If you just had a wood fence installed, you know the drill: treated lumber needs to dry out for weeks or months before it can take stain, and the timeline depends on humidity and rain. A powder-coated or factory-finished wrought iron fence is done the day the panels go up. No staining schedule, no sealant timing, no gray-out if you wait too long.
Step 6: Install and Adjust the Gates
Gates get installed last because they need the most adjustment. A walk gate hangs on hinges attached to a gate post, which should be heavier or set deeper than line posts since it carries moving weight for the life of the fence. The installer sets hinge tension, aligns the latch, and checks the swing over the ground, especially where the grade rises inside the swing path.
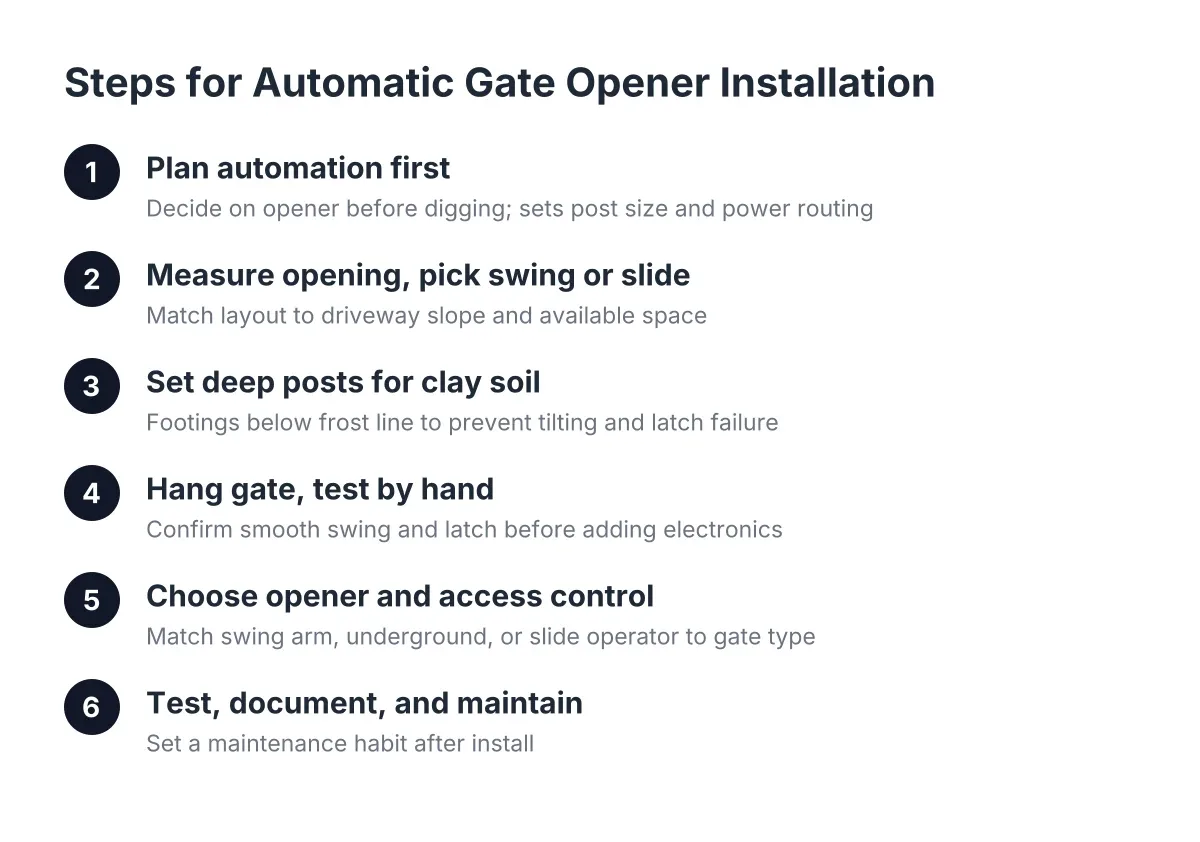
Driveway gates add complexity. A double-swing or sliding wrought iron gate installation involves heavier posts, larger footings, and sometimes an automatic gate operator with electrical work. If you are considering an automatic gate, plan the conduit and power run before the concrete pours, not after. Budget realistically for upkeep too; automatic gate repairs average $900, typically ranging from $550 to $1,500, according to Angi.
Step 7: Walk the Finished Fence and Plan Light Maintenance
Finish the job with a full walkthrough. Check that every panel is tight, every picket top runs true, gates latch cleanly, and no concrete spoils or debris got left along the line. Ask the installer how the finish was applied and what touch-up paint matches it, because a scratch down to bare metal is where rust starts in our humid climate.
Maintenance after that is light but not zero:
- Rinse the fence a few times a year to clear pollen, mud, and grass clippings
- Touch up scratches or chips promptly with matching rust-inhibiting paint
- Check gate hinges and latches each spring and tighten or lubricate as needed
- Keep sprinkler heads from spraying the same spot on the fence daily
Suppose a homeowner near East Brainerd replaces an aging wood privacy fence along the front of a corner lot with ornamental steel. In that scenario, the layout visit happens one week, posts go in the next, and panels hang a few days after the concrete cures. The whole project wraps in under a month, and the only ongoing task is an occasional rinse and a hinge check.
When to Bring in a Professional for Iron Fence Installation and Timeline
A handy homeowner can install stock metal panels on a flat, short run. The job gets past DIY territory when the lot slopes, the soil is heavy clay, the design is custom, or a driveway gate is involved. Gate posts that shift even slightly throw off latch alignment, and repairing a badly set metal fence often costs more than installing it right the first time. The lowest bid is not always the cheapest fence over its life; a fence that has to be rebuilt early costs more than one built well once.
If you are getting quotes, ask each contractor the same questions: How deep do the posts go? How will the panels handle my slope? What is the lead time on the panels I picked? Who handles gate adjustment after the soil settles? Clear answers to those four questions tell you more than any brochure.
If you need fence installation, Chattanooga Fence Builders can help.
Prefer to talk it through? Call (423) 615-8548 — a quick call is usually the fastest way to get a straight answer for your situation.